Sunday, 4 May 2014

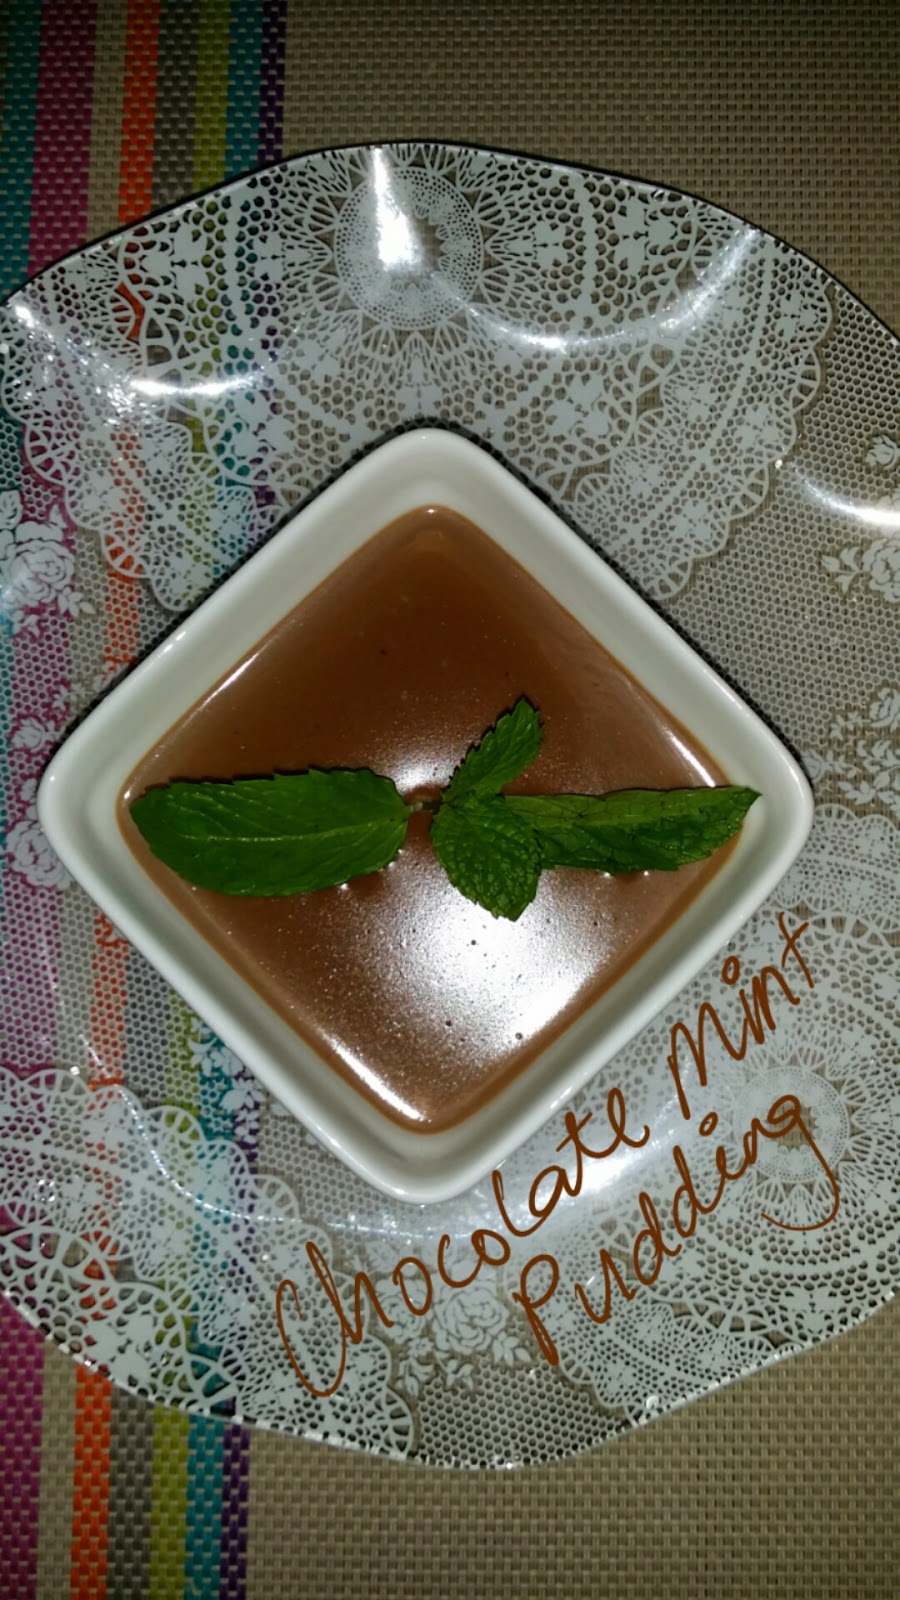
Chocolate Mint Pudding


My big kids love almost anything chocolate ... chocolate cakes,  ice cream with hot fudge, chocolate ice cream, brownies, chocolate éclairs etc.  And of course, to eat it on it's own ... chocolate bars, sweets etc.


I like the taste of mint ... icy cold, refreshing and soothing for the throat.  I would keep some fresh peppermint leaves in the fridge as I enjoy a few pieces with a cup of mint tea.
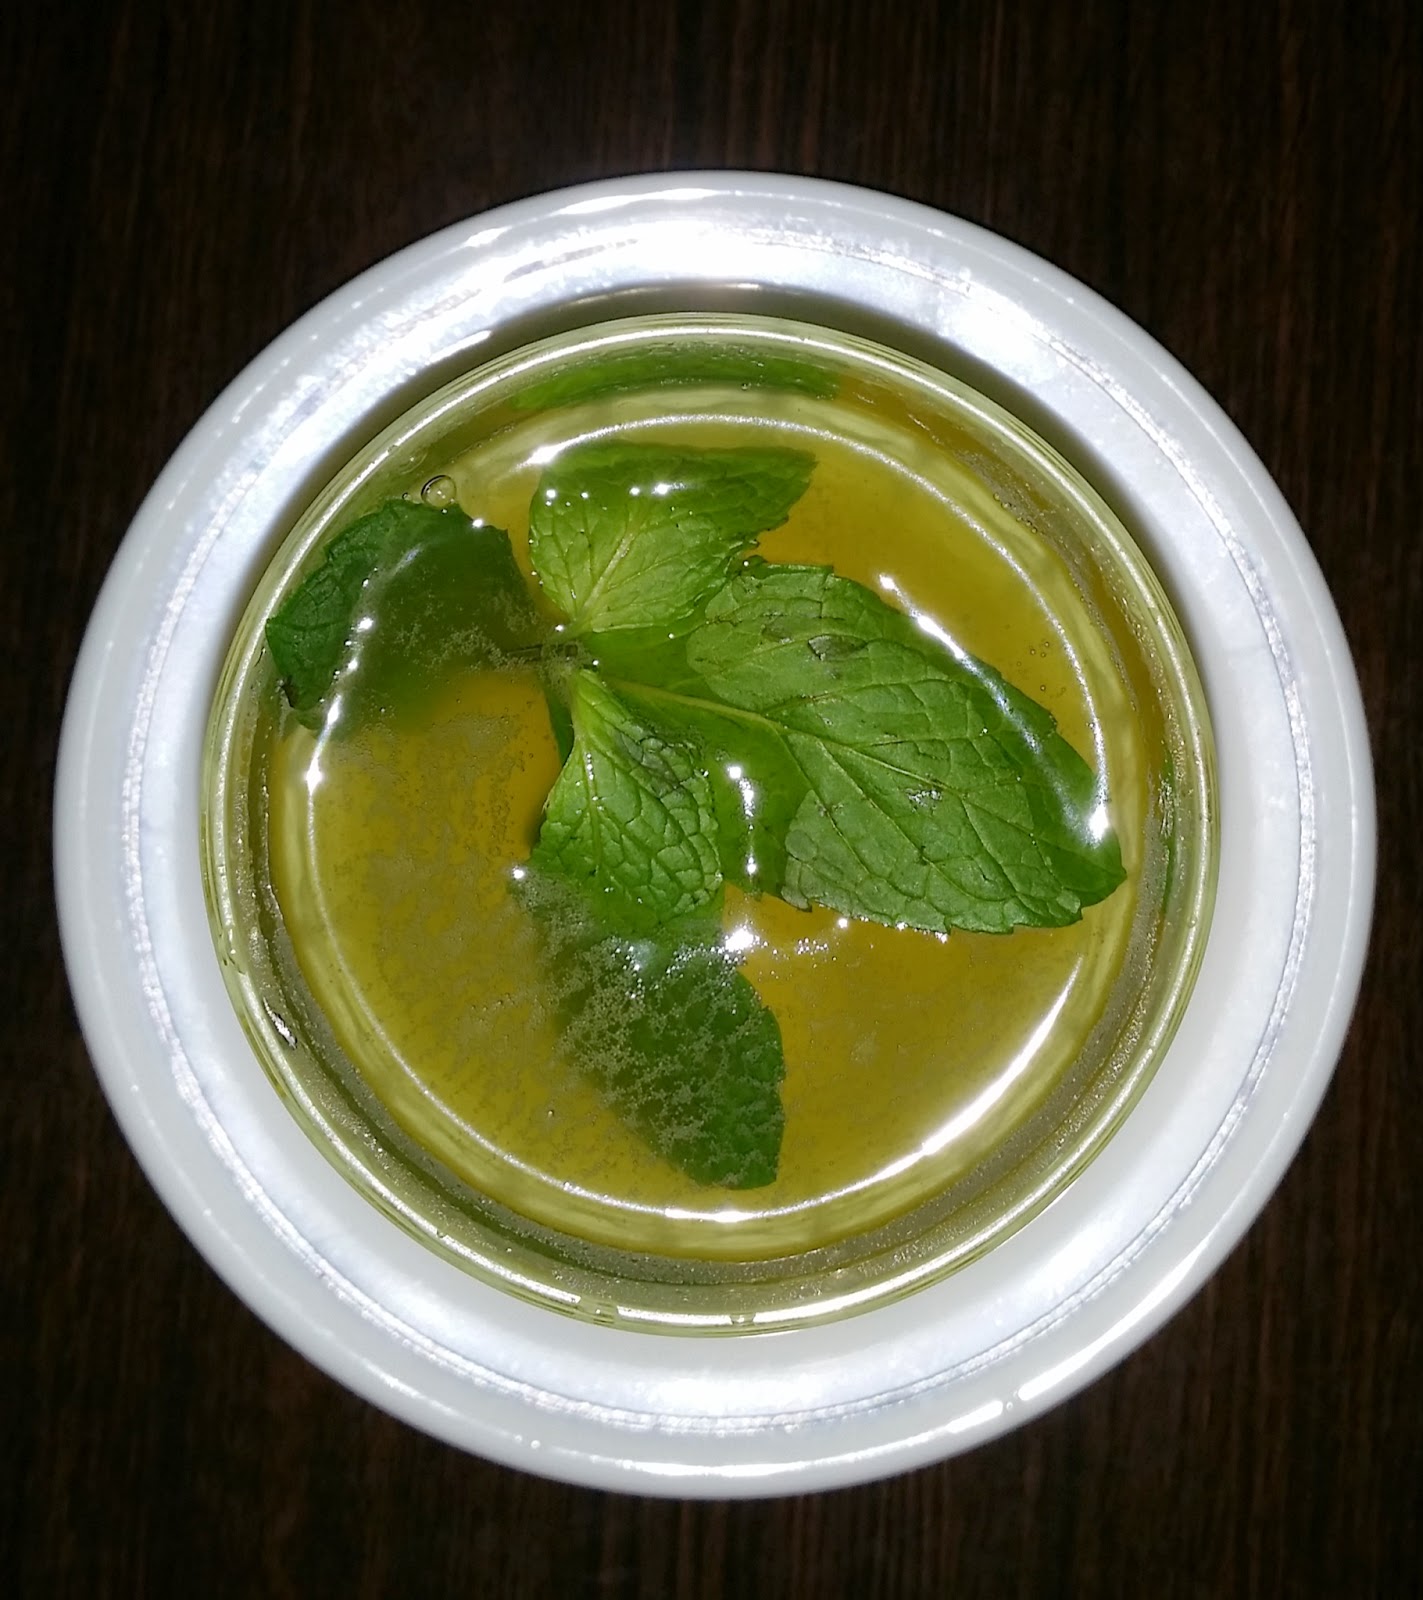
Hot Marrakech tea 


I made Chocolate Mint Pudding that satisfied both our taste buds. Recipe adapted from Yummly.com.
http://www.yummly.com/recipe/Chocolate-Mint-Pudding-My-Recipes?columns=1&position=1%2F63

Chocolate Mint Pudding (4 servings with modifications in blue)
Ingredients
470 ml milk
1 peppermint tea bag, strings snipped off  (I used some fresh mint leaves about 15pcs without stems)
66g sugar (45g)
21g cornstarch
less than 1/8 teaspoon salt (a pinch of salt)
2/3 teaspoon vanilla extract (I used 1 teaspoon)
38g semisweet chocolate, chopped small

Method:
1) Pour 310 ml milk into a small saucepan and warm over medium-high heat until nearly boiling. Remove from heat, add tea bags (or mint leaves) cover and set aside for 10 minutes.
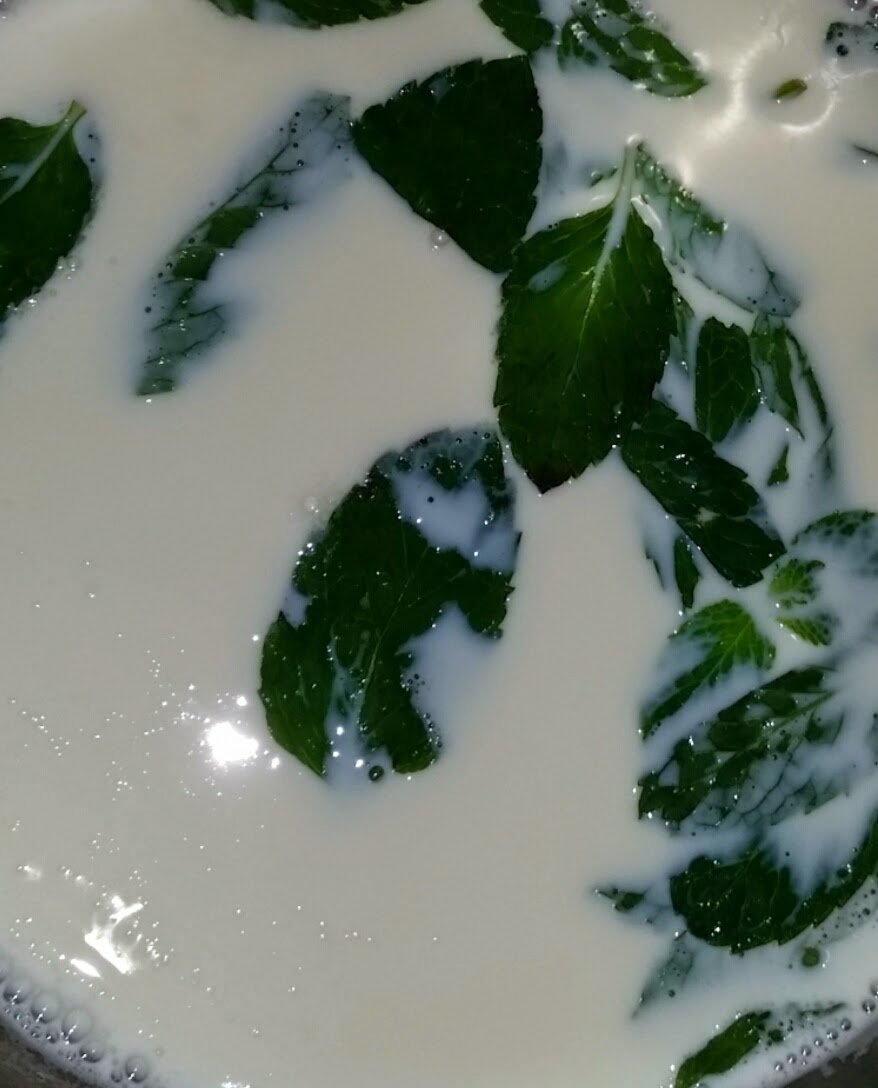
Remove pot from heat, add mint leaves and set aside

2) Whisk together sugar, cornstarch and salt in a large bowl. Slowly pour in remaining milk and vanilla, stirring to blend.

3) Remove and discard tea bags (or mint leaves).

4) Pour warm milk into bowl with sugar mixture (step 2). Stir well and pour back into saucepan. Stir constantly over medium heat until thickened to consistency of mayonnaise. Remove from heat, add chopped chocolate and stir until smooth. Strain into a pitcher or largest measuring cup. Pour into ramekins, custard cups or glasses and serve warm, or cover with plastic wrap (let it touch surface of pudding) and refrigerate until ready to serve.
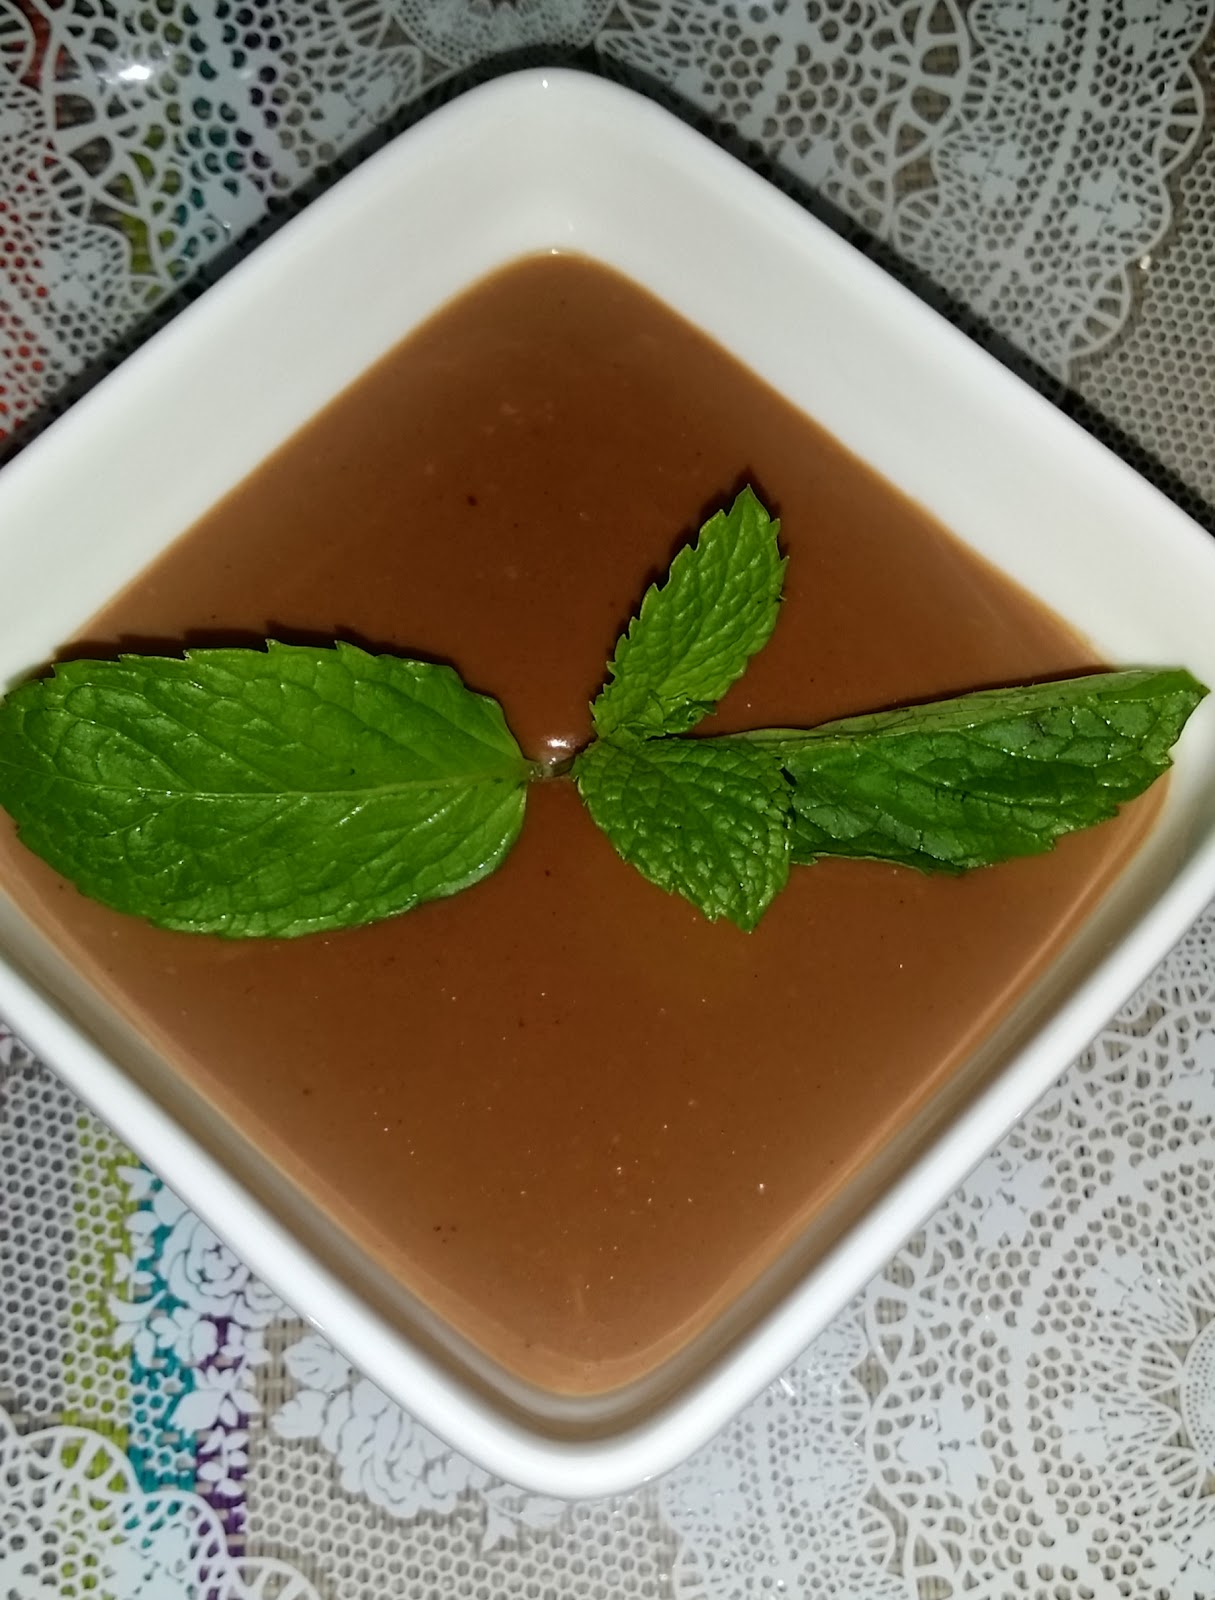
Chocolate Mint Pudding
My boy commented that the pudding tasted chocolaty yet icy cooling.

Photobucket


I'm submitting this post to Little Thumbs up (May 2014: Milk) organised by Bake For Happy Kids, and My Little Favourite DIY, hosted by Tze of Awayofmind Bakery House


Friday, 2 May 2014

Oven Grilled Pineapple

Actually, I don't like to eat raw / fresh pineapple like any fruits.  The 'acidity' attack / numb and itchy feeling on my tongue after eating pineapple really gets the nerves in me. I tried many times since young to adulthood ... still the aftermath of 'pineapple attack' on my tongue was terrible. I have no problem with cooked pineapple for dishes like Thai pineapple fried rice, sweet sour pork, pineapple tarts or even canned pineapple soaked in syrup etc. So I have refrained myself from eating raw pineapple.

I left with 1 honey pineapple in the fridge. Hmm ... what shall I do with it ? Since I have made BBQ Orange Parcels,  think I could make something similar with pineapple. As I'm really quite tired after a day's work, I wanted something quick and easy ... just right for our after meal dessert.


Oven Grilled Pineapple slices.
Place the slices on aluminium foil
Drizzle some honey
Sprinkle some cinnamon powder (about 1 tablespoon)
Pre-heat oven 180 degC and grilled about 10 to 15 mins.

Every warm bite has this sweet woody cinnamon fragrance in honey tangy juicy pineapple... really yummy ... my big kids like it .. me too ^-^ !

Thursday, 1 May 2014

Pineapple & Mango Muffins

Pineapple Mango Muffins
We are supposed to go watch movie after lunch ... The Amazing Spider-Man. But I didn't make any advance ticket booking. My son found out left with only the front 2 rows seats from the screen available in nearby cineplex, so we decided to stay home on this Labour Day holiday. My son continued watching Running Man while my girl study for the coming mid year school examination. As for myself,  I spend a day cooking 3 meals, making pudding and baking some muffins for tomorrow's brekkie.

Still left with 2 honey pineapples in the fridge untouched. I bought 3 last Sunday (3 for $2/-) in the market. I bought some mangoes this morning.  So, decided to "marry the 2 together"! Adapted from Joy of Baking,  my usual muffin recipe with modifications in blue :-

Pineapple & Mango Muffins
Ingredients:
110 grams unsalted butter, melted
2 large eggs, lightly beaten
1 teaspoon pure vanilla extract
Mango (about 120 grams) peel skin, cut big chunks and lightly mashed 
Pineapple (about 100 grams) finely chopped
290 grams all-purpose flour
100 grams caster sugar (I cut down to 80g)
1 teaspoon baking powder
1/4 teaspoon baking soda
1/2 teaspoon salt

Method:
1) Preheat oven to 177 degrees C. Place the oven rack in the center of the oven. Line a 12 cup muffin pan with paper liners.
2) In a small saucepan melt the butter. Let it cool to room temperature.
3) In a medium sized bowl whisk together the eggs, vanilla extract, chopped pineapple and mashed mango. Add the melted butter and stir to combine.
4) In another large bowl combine the flour, sugar, baking powder, baking soda and salt.
5) Add the wet ingredients to the dry ingredients and stir only until the ingredients are just combined. Do not over mix the batter or tough muffins will result.
6) Divide the batter evenly among the 12 muffin cups, using an ice cream scoop. 
7) Bake for about 20 to 25 minutes or a tester (tooth pick) inserted in the center of a muffin comes out clean.  Transfer to a wire rack to cool. Can be stored for a few days at room temperature.

While I was doing the washing, I could smell the strong aroma of the fruits that's coming from the oven .... hmm ... yummy!


Wolfberries Milk Pudding


Wolfberries Milk Pudding

Well, I have not been making agar agar, pudding or jellies for many years.  I remembered when my kids were much younger, I love to make them Konnyaku jellies (that was almost 13 years ago). A sharing of such dessert recipe from colleagues and was quite an 'IN thing' then.

Today, I would like to share a Chinese dessert ... Wolfberries Milk Pudding.  I used to add wolfberries when I cook soup, the Cantonese style like double boiled chicken soup, pork ribs with peanuts and lotus roots, herbal soup etc. But I didn't know that Wolfberries could be used to make dessert like pudding. Recipe adapted from Day Day Cook  http://www.daydaycook.com/recipe/1/details/16411/index.html

Wolfberries Milk Pudding 杞子奶凍
Ingredients:
4 teaspoons gelatin
250mL milk
300mL fresh cream (I used 200ml as that's what I have in the fridge)
100mL coconut milk
70g sugar (I cut down to 50g)
20g wolfberries
Fresh milk & coconut milk

Method:
Step 1. In a bowl, combine 3 tablespoons of water with gelatin. Stir and then let the mixture rest for 10 minutes. The mixture will become sponge-like.

Step 2. In a pot, combine milk, coconut milk, sugar, and wolfberries. Cook on medium heat until the sugar has melted, about 10 minutes. Do not bring the milk to boil, only allow it to simmer.
Simmer over medium-low flame
Step 3. Turn off the heat. Add the gelatin-sponge (step 1) to the milk mixture. Mix until the sponge is completely dissolved. Run through a sift and into a large mixing bowl. Allow to cool for 20 minutes.

Step 4. With an electric mixer, whisk fresh cream until it begins to firm. Gently fold the cream into the milk mixture (step 3). Mix well, then pour into mold or glass cups. Refrigerate until the pudding is set. Garnish with wolfberries to serve.

As soon as the pudding is set, I can't wait to try it. The fragrance of coconut milk and the milky smooth texture ... really yummy!

Photobucket

I'm sharing this 'Milk' post with Little Thumbs Up.
This post is linked to the event, Little Thumbs up organised by Bake For Happy Kids, and My Little Favourite DIY, hosted by Tze of Awayofmind Bakery House 


Monday, 28 April 2014

Travel diary ... back to Shanghai

It's been 3 long years since my last working trip to Shanghai. I was on a 3-day business trip to Shanghai last week. Well, scheduled with packed BTB 2 full days meetings.

It's spring season now. Ha ha 我和春天有个约会! The weather was cool and sunny in the day but rainy in evening.  I love the cool breeze and we took a stroll in the small garden during lunch break that's within the industry in Pudong.


Lovely bright red flowers
Chirpy birds singing ... I love the maple leaves
A small walking path with beautiful green, yellow,  maroon colour leaves, led us to the fish pond ... the garden was really quiet and peaceful.  An escape from the hectic and hustle city life.
Koi fishes dancing happily in the pond! 
On the 3rd day before departure,  I met up with an old friend for brunch in Puxi - Gubei 古北 before heading to Pudong airport.  My favourite tea house避风塘. It was a short but good catch up cos it has been ages since we last met. 避风塘 served Cantonese Hong Kong dim sum and savory snacks like fried beef hor fun, chee cheong fun, fried carrot cakes etc. I missed the chee cheong fun (steamed rice rolls) that served with peanut sauce. Hee hee, perhaps I should learn how to make chee cheong fun one day ?!? 再见了上海.
Fried carrot cake and chee cheong fun

Saturday, 19 April 2014

Chocolate Tarts


Bars of chocolates in the refrigerator ... semi-sweet, dark & bitter types. Few packs still wrapped nicely untouched. I didn't purchase all these ... most of these chocolates were birthday gifts given to my girl from her friends.

Well, since I have these readily ingredients, decided to try out some chocolate tarts on my weekend baking.  Recipe adapted from Joy of Baking (Chocolate Pie) http://m.joyofbaking.com/PiesAndTarts/ChocolatePie.html.  As I only have tart moulds so it looks more like Chocolate tarts to me. I reduced the quantity of the chocolate filling as my girl has hinted "less sugar & chocolate as I want to loose some weight" ):

Ingredients (with modifications made in blue) :
Chocolate Filling:
3/4 cup (150 grams) granulated white sugar (90g castor sugar)
2 1/2 tablespoons cornstarch (corn flour) (1.5 tbsp)
1/4 cup (25 grams) unsweetened cocoa powder (regular or Dutch-processed)
1/4 teaspoon salt
1 2/3 cup (400 ml) milk, divided (whole or 2% reduced fat) (250ml)
1/3 cup (80 ml) heavy whipping cream (35-45% butterfat content) (50ml)
3 large egg yolks (2 egg yolks)
3 ounces (90 grams) semisweet (or bittersweet) chocolate, finely chopped (80 g)
1 teaspoon pure vanilla extract
1 tablespoon (14 grams) unsalted butter, room temperature (cut into small pieces)

Shortbread Crust:
130 grams all purpose flour
1/8 teaspoon salt
1/3 cup (35 grams) confectioners sugar (powdered or icing sugar)
113 grams cold unsalted butter, cut into small chunks.

Instructions:
Chocolate Filling: In a medium-sized heatproof bowl whisk together the sugar, cornstarch, cocoa powder, and salt. Then whisk in 50 ml of the milk to make a thick paste. Add the egg yolks and whisk into the cocoa paste mixture. Set aside while you heat the milk and cream. Have ready a strainer placed over a bowl as you will need to strain the pudding after it is cooked.

Pour the remaining 200 ml milk with the cream into a medium-sized heavy saucepan. Bring this mixture just to a boil (the milk will start to foam up) and then remove from heat. Gradually pour the hot milk into the egg mixture, whisking constantly, until the mixture is smooth. Transfer the pudding mixture to a clean, heavy bottomed medium sized saucepan and place over medium-low heat. Cook, stirring constantly, until the mixture thickens to the consistency of mayonnaise (about 3 - 5 minutes). Remove from heat and pour through the strainer to remove any lumps that may have formed during cooking. Add the finely chopped chocolate, vanilla extract, and butter, stirring gently with a rubber spatula until the mixture is smooth. Cover with plastic wrap, to prevent a skin from forming, let cool, and then chill in the refrigerator until thick (for at least four hours, or even overnight).

Shortbread Crust: Lightly butter, or spray with a non stick vegetable spray, a 9 inch (23 cm) pie or tart pan (I used 4 tart mould)
In your food processor, place the flour, sugar, and salt and process to combine. Add the cold butter and pulse until the pastry starts to come together and form clumps. Transfer the pastry to your pie or tart pan and, using your fingertips, evenly press the pastry onto the bottom and up the sides of the pan. Gently pierce the bottom of the crust with the tines of a fork. Cover and place the pastry crust in the freezer for 15 minutes to chill.

Preheat oven to 220 degrees C and place rack in the center of the oven.
Bake the crust until golden brown, about 13 - 15 minutes. Remove from oven and place on a wire rack to cool completely. Then fill with the chilled chocolate filling.

I forgo any whipped cream topping, just decorate it with walnut.


Thursday, 17 April 2014

Banana Walnut Muffins


Banana Walnut Muffins ... freshly baked!
I've never grown tired of baking muffins.
It is easy and less hassle as compared to baking cupcakes,  sponge cakes etc. In fact muffin was my first bake when I bought a box of muffin premix from supermarket. As I've developed my interest in baking, I read up some cookbooks, bakers blogs, watched video demo by Stephanie of Joy of Baking and baked different varieties of muffins... Chocolate Chips Muffins, Strawberry Banana Muffins, Strawberry & Blueberry Muffins, Mango Muffins etc. Muffins are also my big kids' favourite breakfast.

I baked these Banana Walnut Muffins for breakfast, adapted from Joy of Baking, with slight modifications in blue adjusted to our taste.

Banana Walnut Muffins Recipe (12 regular size) :
115 grams walnuts or pecans (90g)
230 grams all-purpose flour
150 grams granulated white sugar (90g)
1 teaspoon baking powder
1/4 teaspoon baking soda
1/4 teaspoon salt
1 teaspoon ground cinnamon
2 large eggs, lightly beaten
113 grams unsalted butter, melted and cooled (90g)
3 ripe large bananas (approximately 1 pound or 454 grams), mashed well (about 1-1/2 cups)
1 teaspoon pure vanilla extract

Instructions:
Preheat oven to 180 degrees C and place the oven rack in the middle of the oven. Line a 12 - 1/2 cup muffin pan with paper liners or butter or spray with a non stick spray.

Place the nuts on a baking sheet and bake for about 8 to 10 minutes or until lightly toasted. Let cool and then chop coarsely.

In a large bowl combine the flour, sugar, baking powder, baking soda, salt, cinnamon, and nuts.

In a medium-sized bowl combine the mashed bananas, eggs, melted butter, and vanilla.

With a rubber spatula or wooden spoon, lightly fold the wet ingredients (banana mixture) into the dry ingredients just until combined and the batter is thick and chunky. (The important thing is not to over mix the batter. You do not want it smooth. Over mixing the batter will yield tough, rubbery bread.) Spoon the batter into the prepared muffin tins. Bake about 20 - 25 minutes or until a toothpick inserted in the center comes out clean.

Place on a wire rack to cool for five minutes and then remove muffins from pan. Serve warm or at room temperature.

Baked for breakfast! for myself ... a cup of freshly brew coffee plus 2 muffins before heading to work!