Sunday, 30 March 2014

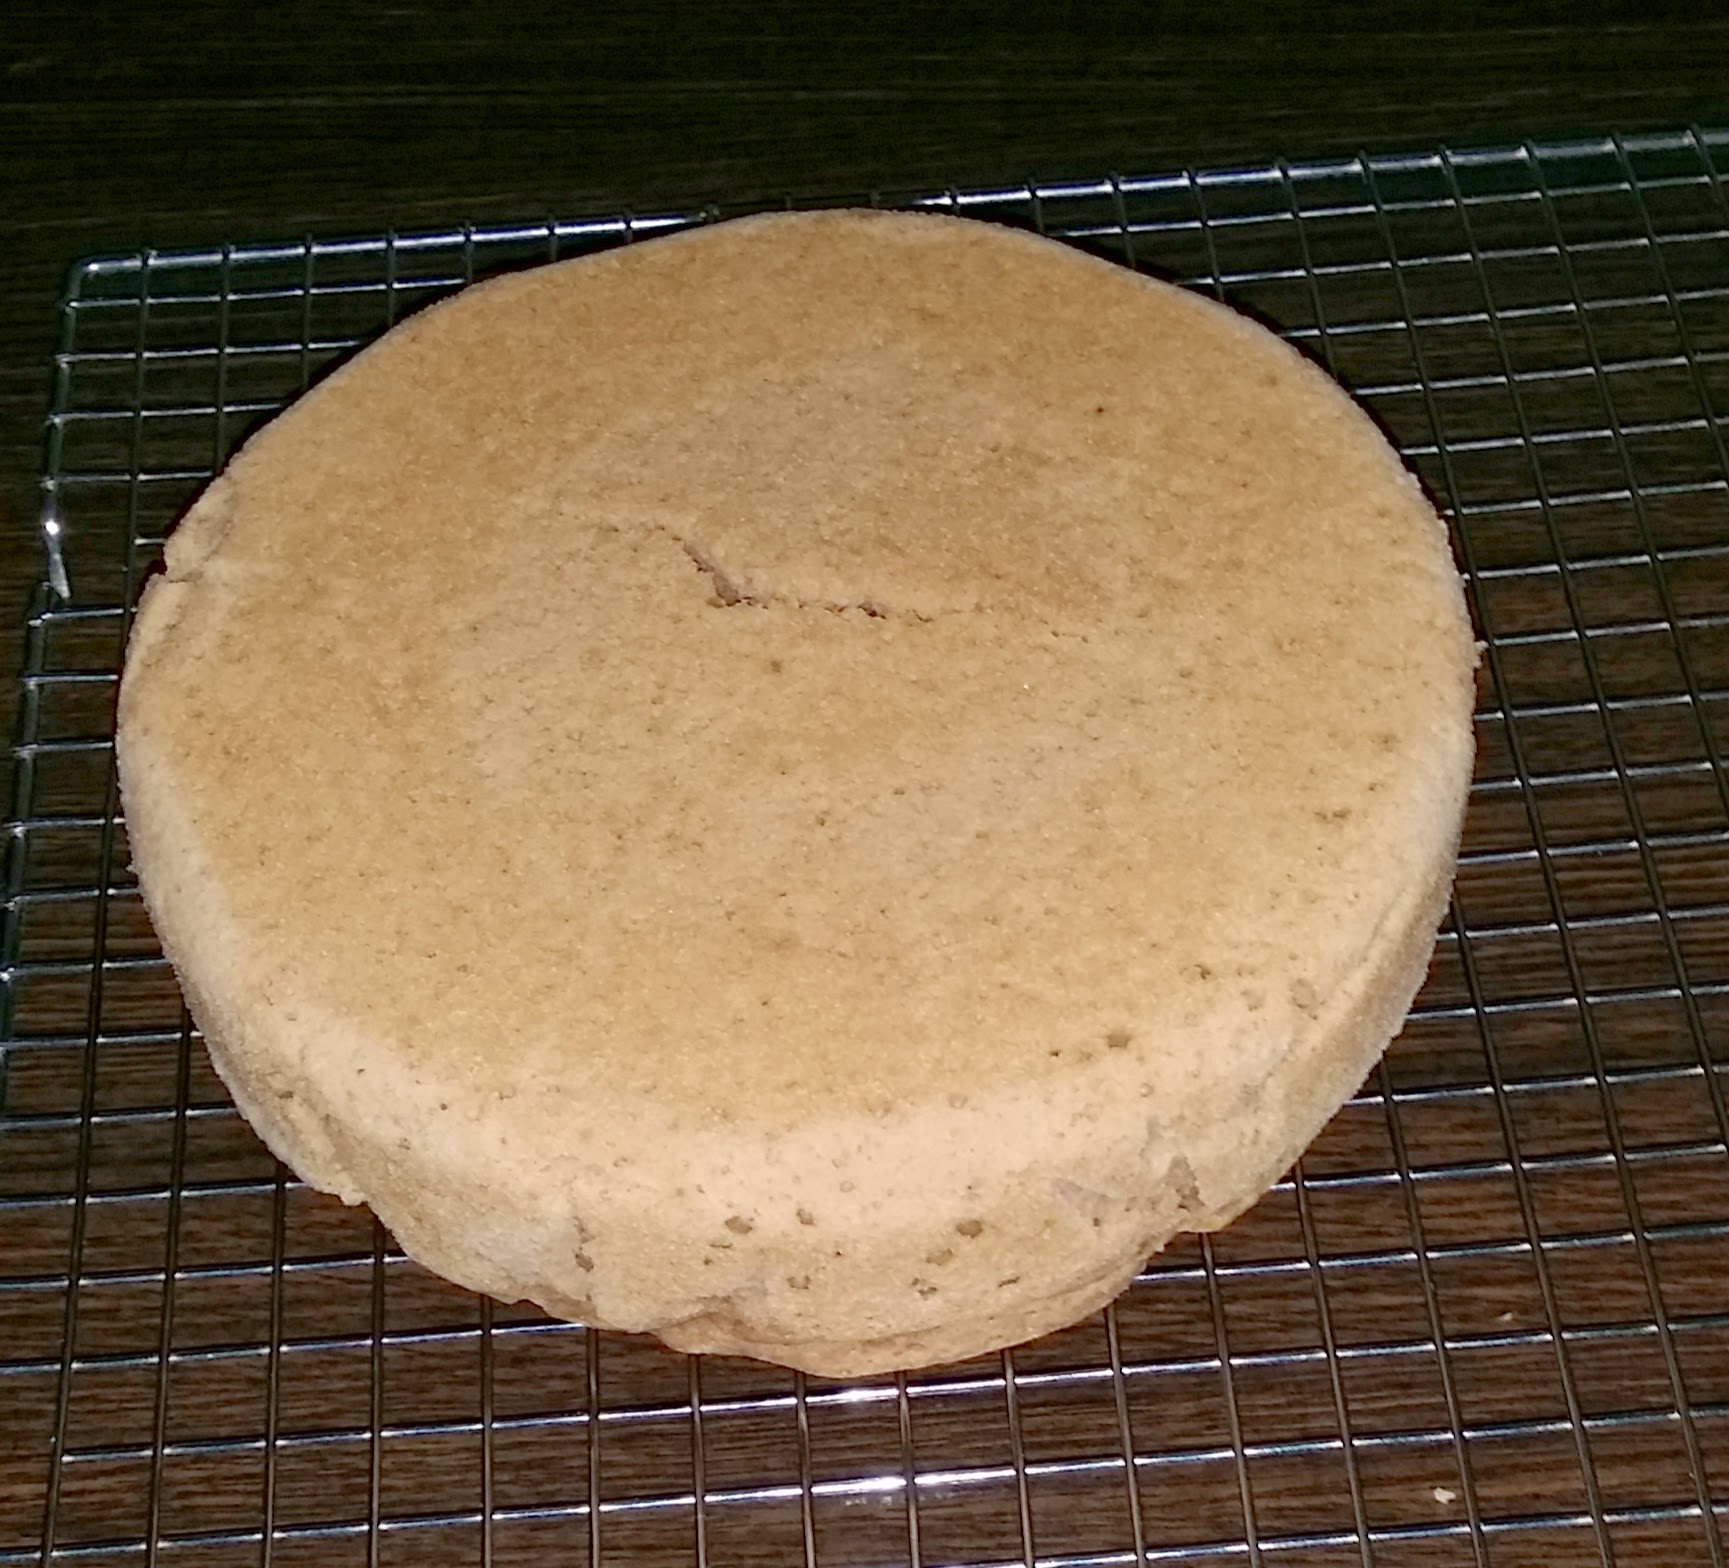
A small birthday cake for C&C

The birthdates of my 2 teens were just one day apart in the same month.   As the friends of my girl had given her 2 small cakes and a dozen of cupcakes to bring home, I could not bake any more cake without first finished those 'stacking' on top of each other in the refrigerator.

They had previously suggested a cake decorated with Ferrero Rocher (of course
theirs favourite) ...Well, searched through some related recipes and decided to bake Nutella Butter cake that I had attempted before and to decorate it with Ferrero Rocher.
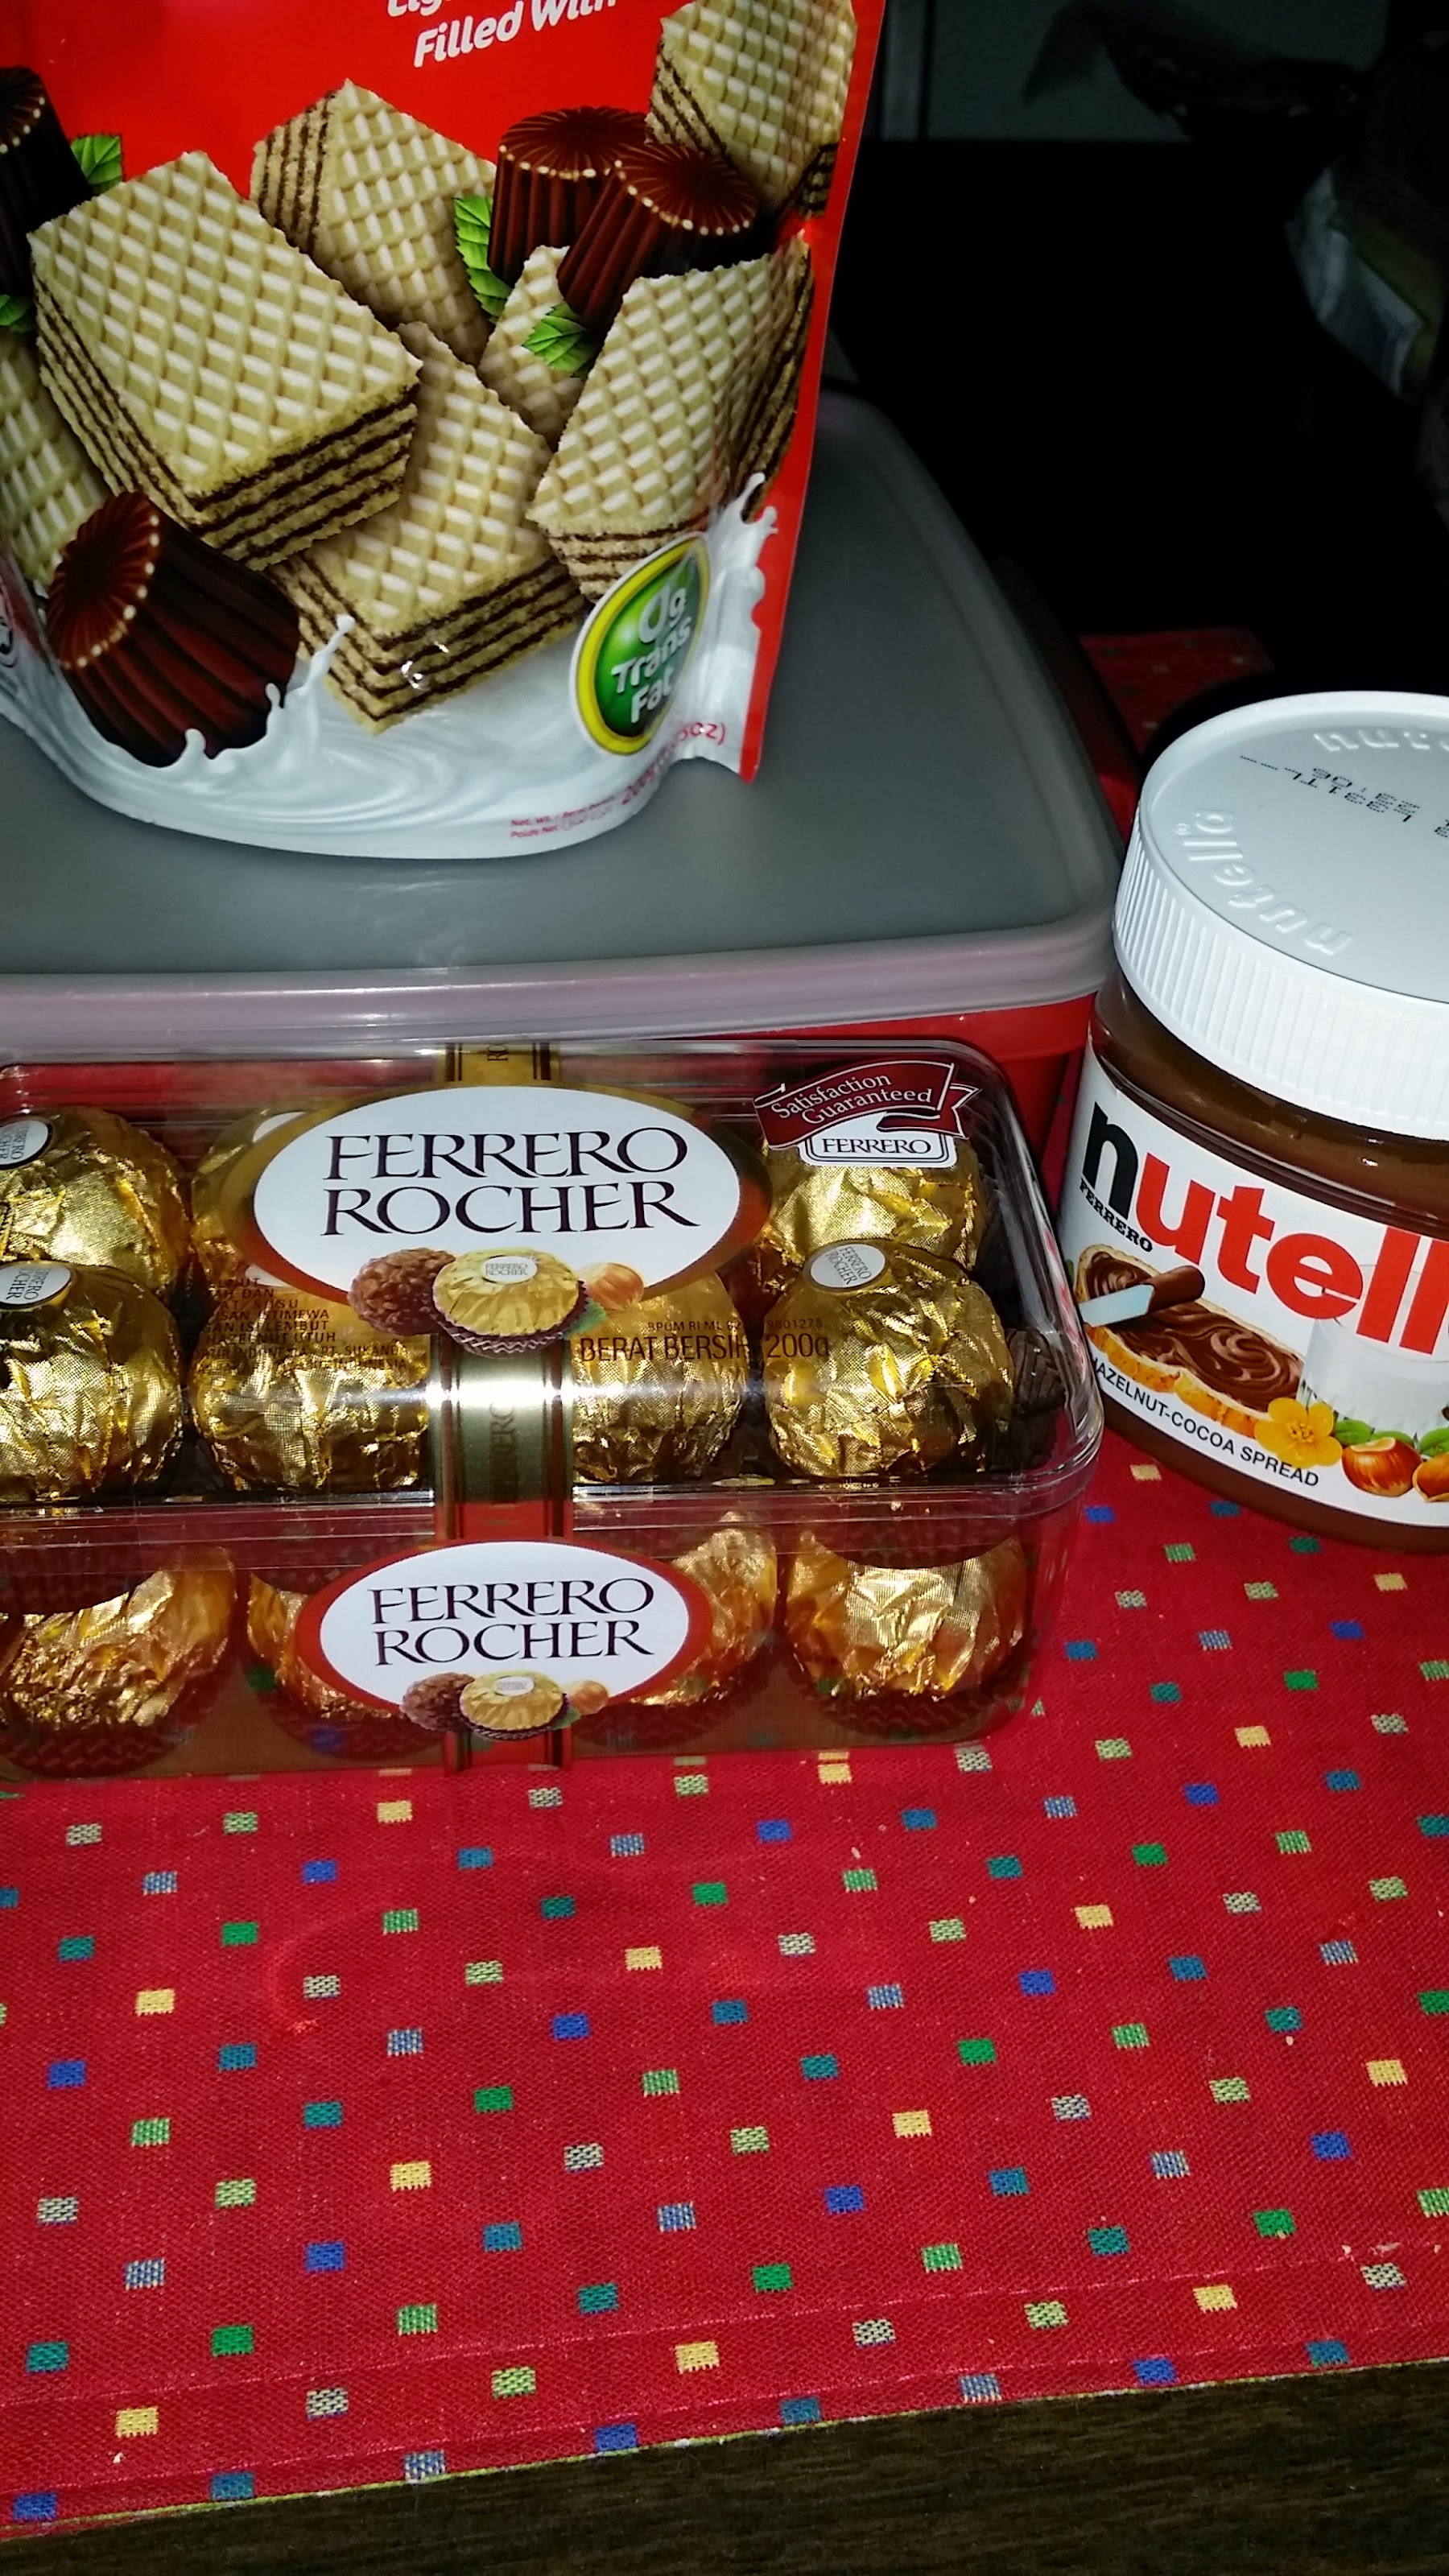
Readily available


Here's the recipe I adapted from Happy Home Baking for the Nutella Butter cake.
Ingredients:
225g cake flour
1 teaspoon baking powder
1/2 teaspoon baking soda
1/2 teaspoon salt
85g butter, soften at room temperature
3 tablespoons Nutella spread
150g (I used 140g) caster sugar
2 eggs, lightly beaten
1 teaspoon vanilla essence
120g plain, non-fat yogurt

Method:
1) Preheat oven at 180 degC. Line bottom of a 20cm (8") round pan with parchment paper. Grease and flour the sides of the pan, set aside.
2) Sift together cake flour, baking powder, baking soda and salt. Set aside.
3) Mix together yoghurt and vanilla essence.With an electric mixer, beat butter and nutella for 1 min. Gradually add in caster sugar and beat on high speed for about 3 mins. Scrape down the sides of the mixing bowl periodically.
4) Dribble in the eggs slowly, about 1 tablespoon at a time, beat constantly for about 2 mins.
5) On low speed, beat in 1/3 of the flour mixture. On medium-high speed, beat in 1/2 of the yogurt mixture. On low speed, beat in half of the remaining flour mixture. On high speed, beat in the remaining yogurt mixture. On low speed, beat in the rest of the flour mixture.
6) Pour batter into into prepared pan, smooth the top evenly with a spatula. Bake for about 40 ~ 45 mins or until a toothpick inserted into the centre comes out clean.Let cool in pan for 10 mins before unmold. Invert onto a cooling rack and let cool completely.

As for the Nutella buttercream,  I improvised the buttercream recipe I had used for cupcake frosting and added some wafers (crushed) to the cake.
7 Ferraro Rochers for decor (or as you desired)
Crushed some wafers (enough to fill the sides)
Nutella Buttercream
Ingredients:
150g unsalted butter, softened to room temperature
80g icing sugar
80g Nutella
3 tablespoons heavy cream or milk
1 teaspoon vanilla essence

Method:
Use electric mixer, cream butter until light an fluffy. Add in the icing sugar.
Add the vanilla and nutella (few spoonfuls at a time).

Well, here's the belated small Nutella + Ferrero Rocher cake for them! Happy birthday to C&C, with love always ... Mom.




Tuesday, 25 March 2014

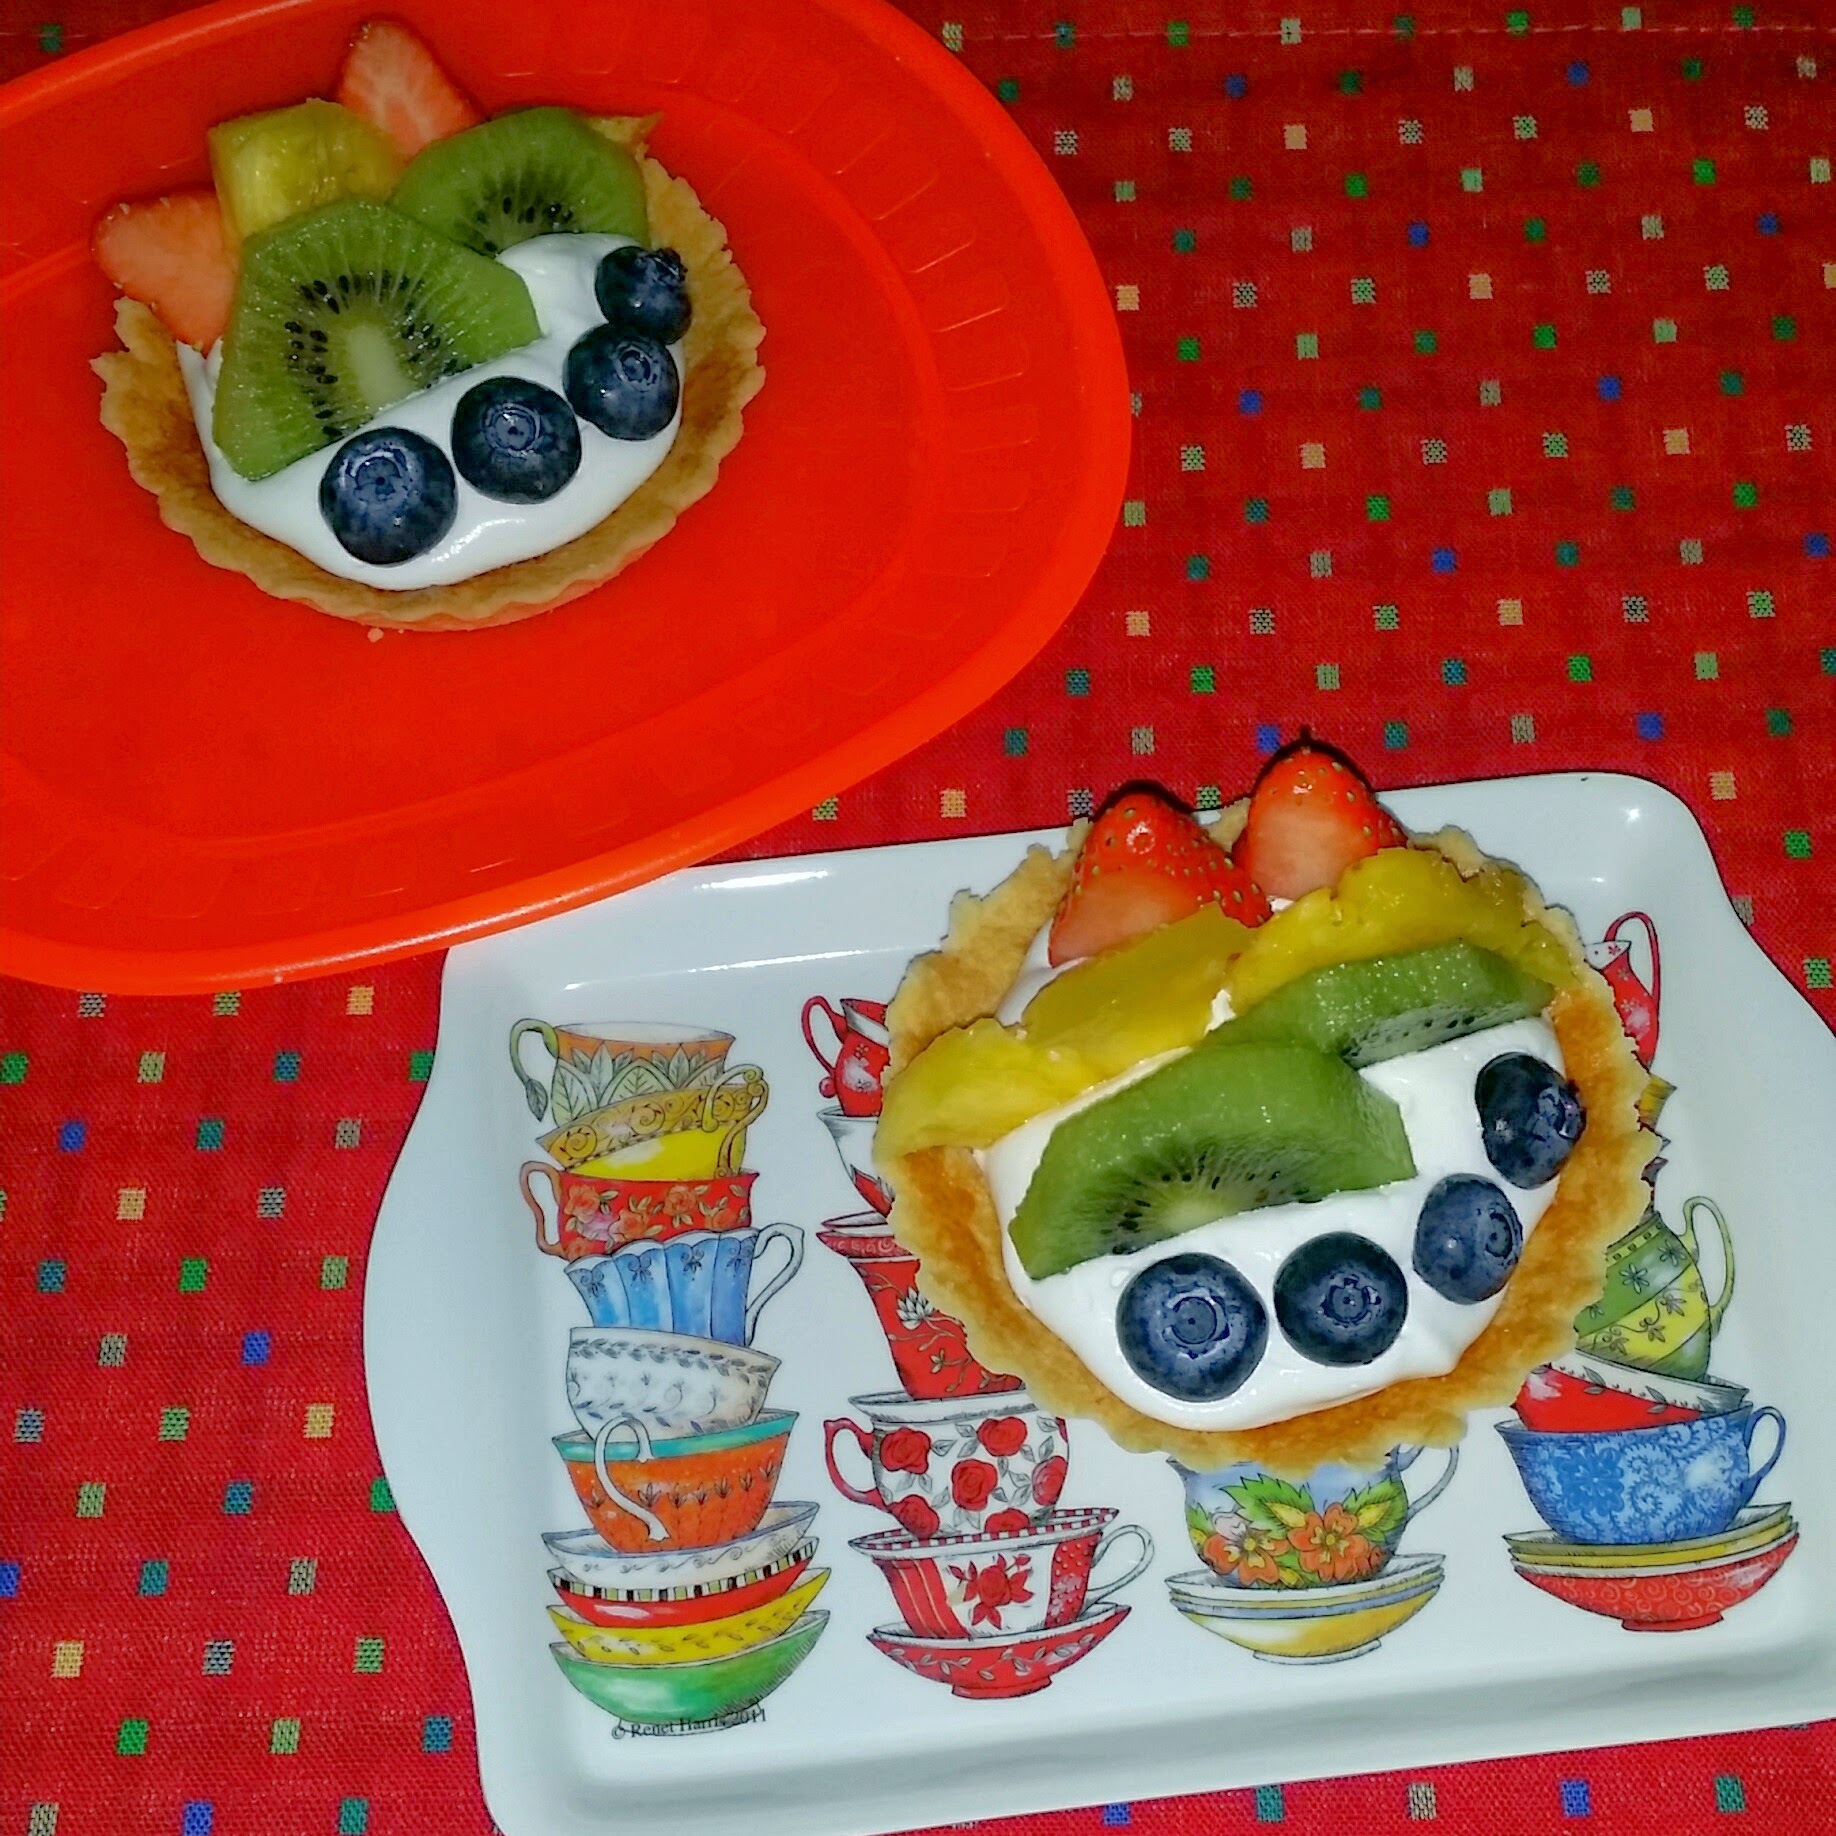
Colorful rainbow fruit tarts

Ain't get enough of fruity tarts. This is my 3rd attempts in fruit tarts recipe. Using the same pastry recipe adapted from Joy of Baking, I have made fruit tarts with pastry cream, peach almond tart and this rainbow colours fruits topped with whipped cream.

Rainbow Fruit Tarts

Pastry Crust: (I'm using 5 small about 2.5 inch tart case as I do not have a 8-9 inch removable tart pan)
195 grams all purpose flour (sifted)
1/8 teaspoon salt
110 grams unsalted butter, at room temperature
50 grams granulated white sugar (I used 40g)
1 large egg lightly beaten

Method:
1. In a separate bowl, whisk the flour with the salt. 
2. Place the butter in the bowl of your electric mixer, or with a hand mixer, and beat until softened. 
3. Add sugar and beat until light and fluffy. Gradually add the beaten egg, beating just until incorporated. 
4. Add the flour mixture all at once and mix just until it forms a ball.
5. Flatten the pastry into a disk, cover with plastic wrap, and refrigerate for 15-30 minutes.
6. Lightly butter the small tart cases. Cut out the tart size and evenly pat the chilled pastry onto the bottom and up the sides of the case. 
7. Lightly prick bottom of pastry crust with the tines of a fork (this will prevent the dough from puffing up as it bakes).
8. Meanwhile, preheat oven to 180 degrees C and place rack in center of oven. 
9. Bake crust for 10 - 15 minutes or until dry and lightly golden brown. Remove from oven and place on a wire rack to cool completely before filling and decorate fresh fruits of your choices. 

My kids loved these lovely decorated yummy colourful fruit tarts, hope you will enjoy them too!

As this is the last series of the Aspiring Bakers, I am submitting this to
Aspiring Bakers #40: Rainbow and Ombre Party! (March 2014) hosted by Cynthia of The Baking Biatchhttp://www.thebakingbiatch.com/2014/02/aspiring-bakers-40-rainbow-and-ombre.html?m=1

Sunday, 23 March 2014

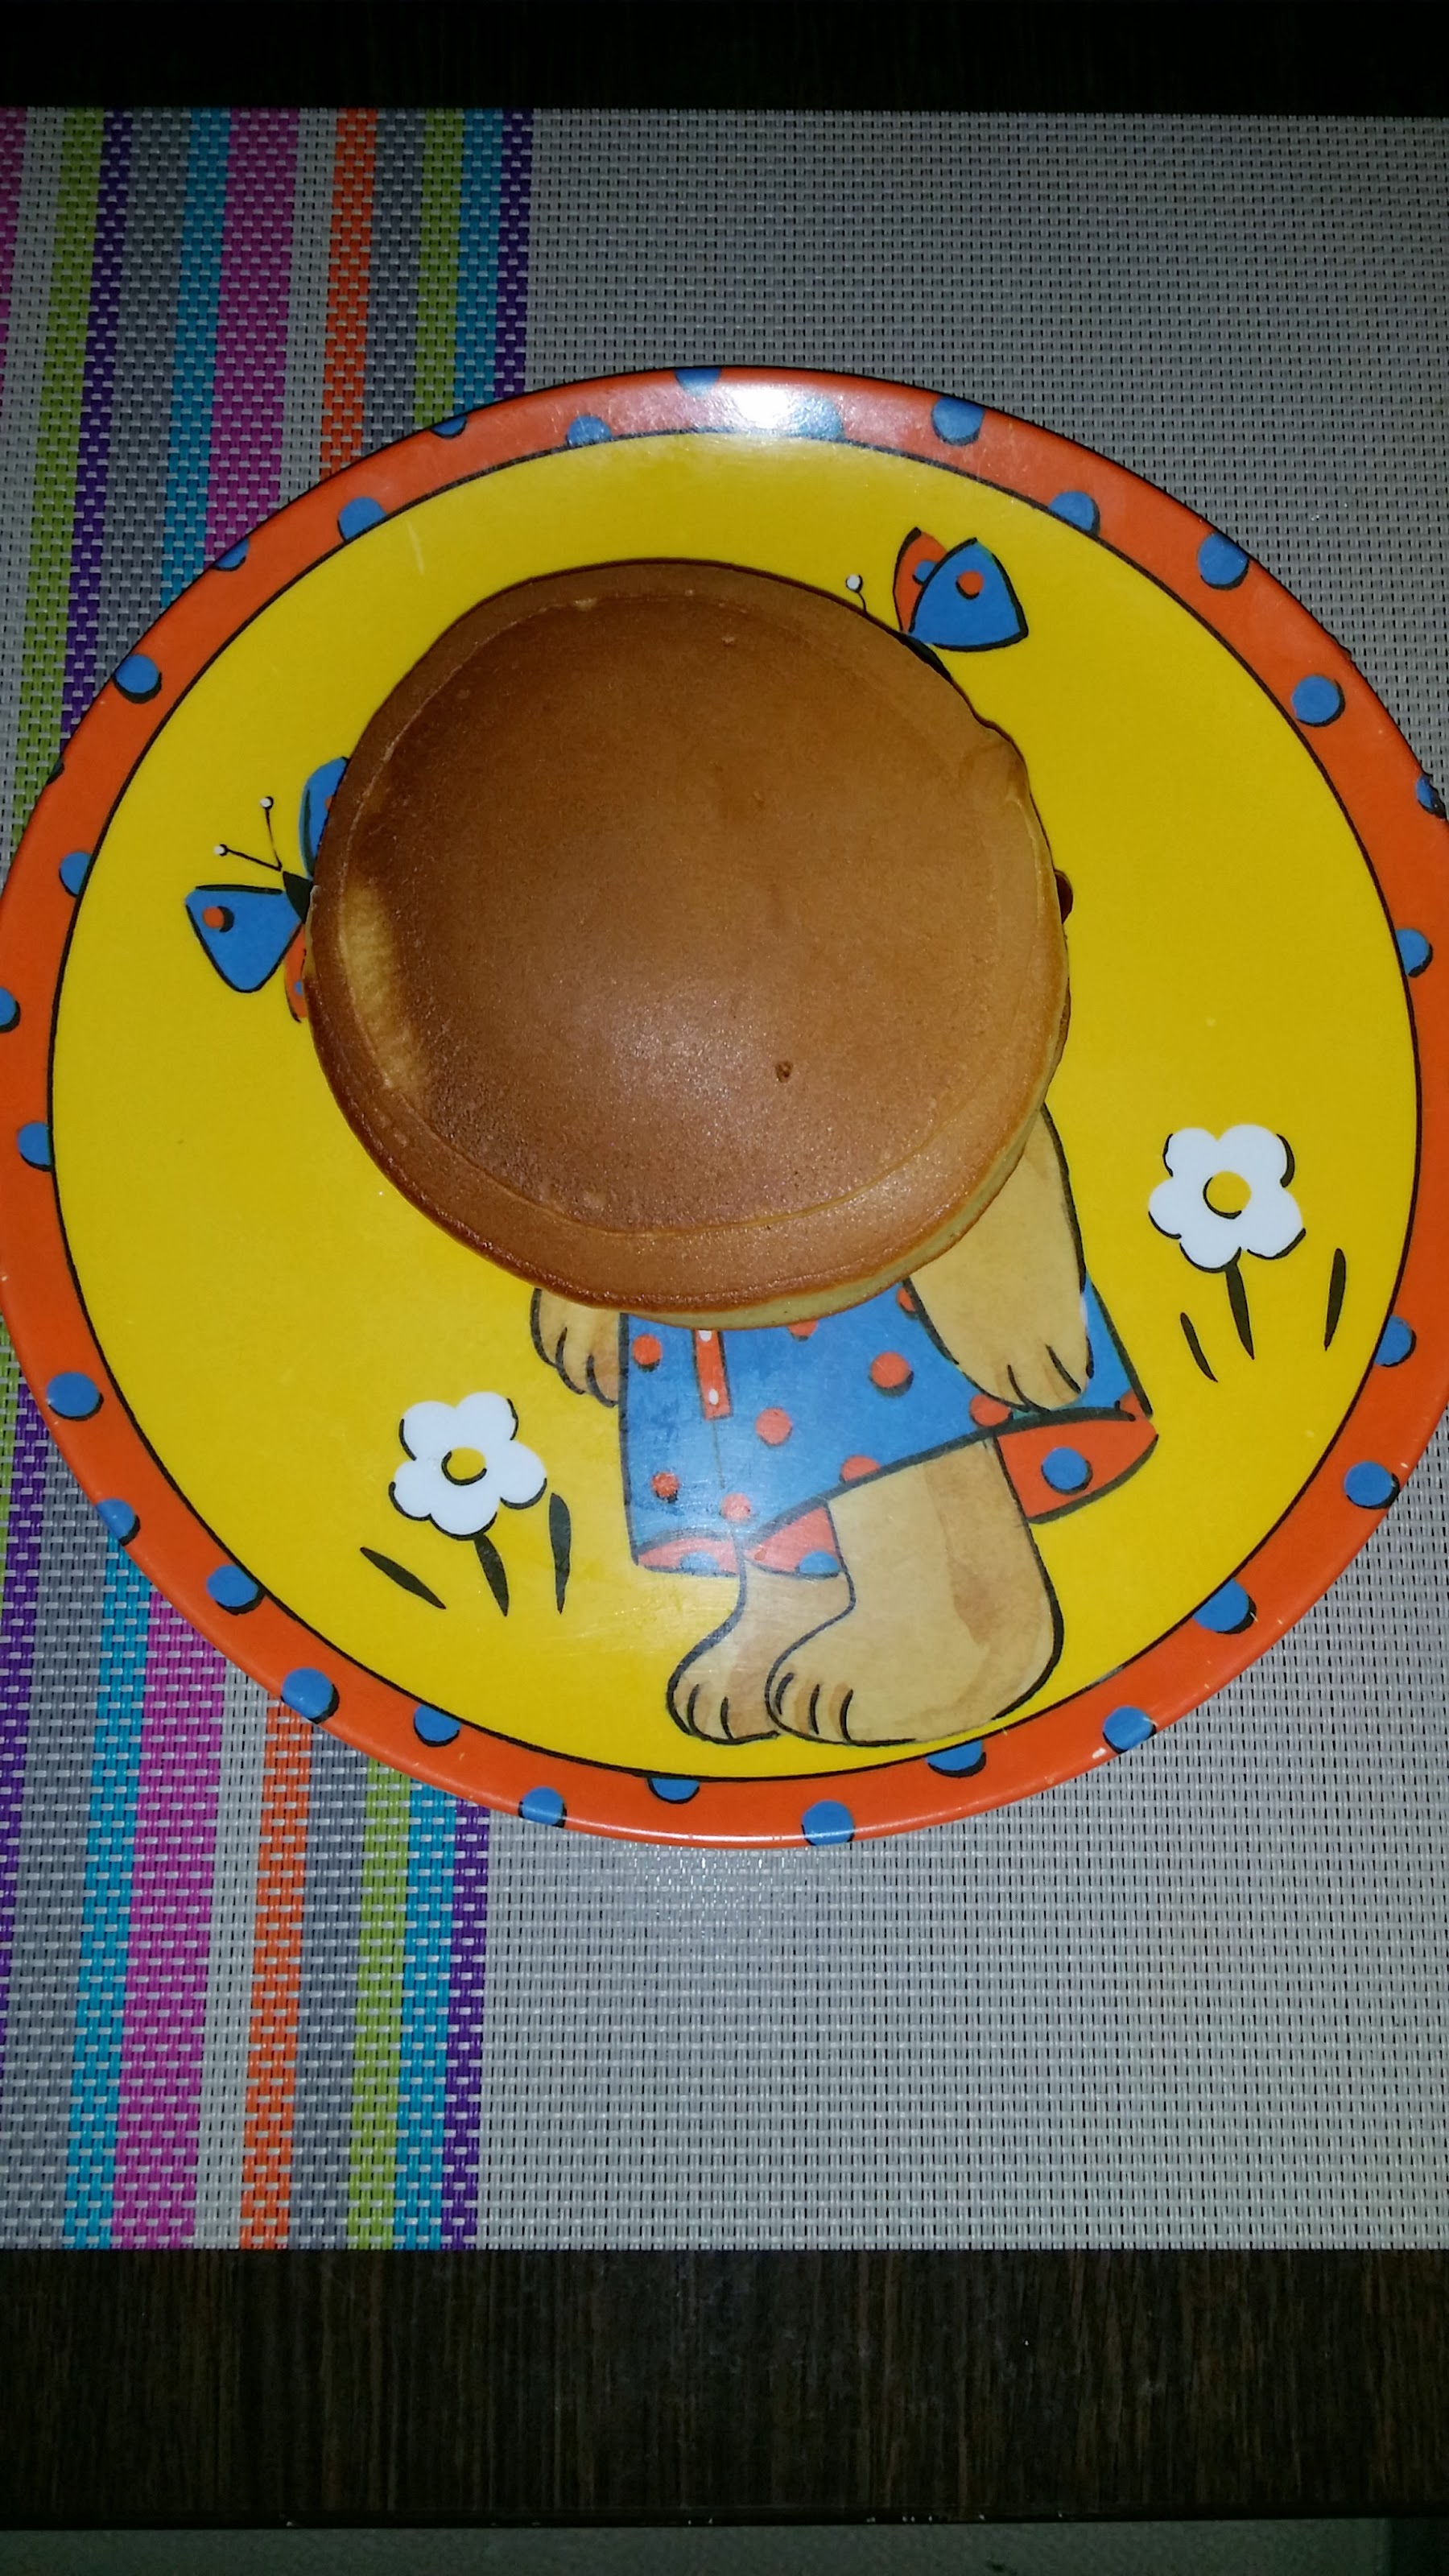
Dorayaki

Made these yummy pancakes for breakfast last week ... love the cute round delicious Japanese cakes that sandwiched sweet red bean paste sold at those Japanese supermarkets like Yaohan, Sogo. With the pulling out of their businesses from Singapore, I could hardly find these yummy snacks in heartland malls or hypermart nowadays.


Bought a can of Anko sweet red bean paste and decided to make some. It was not too difficult, my first attempt. Adapted from this recipe but I omitted the sweet sake as I didnt have any. http://shizuokagourmet.com/japanese-cake-dorayaki-basic-recipe/
The taste was just as good. Will definitely be making more with choices of filling like chocolate,  peanut butter and kaya!

Saturday, 22 February 2014

A sweet weekend ... Fruit tarts & fruity fondue dinner

Today is my 22nd wedding anniversary.  I sent an ecard to my hubby this morning... Hopefully he remembers this special day. Well, there is no celebration for us as he works overseas. The usual weekend for me to cook some homemade dishes for the family.
The morning groceries shopping as usual and bought some fruits ... Banana, strawberry, blueberry, honey melon ... Yeah a fruity day and decided to make fruit tarts. I have not tried baking fresh fruit tarts.  Hmm... There are many fruit tarts recipes ... Decided to use the recipe with easy to follow instructions.  As I have baked pies, so think I should be able to handle the baking of tarts though it is my first attempt. Yummy ! A thumb up from my son! The tarts are delicious !
Sweet fruity tart and a cup of hot coffee for my quiet afternoon break.


So, what's next for our dinner? 
Ham & mushrooms creamy cheese macaroni plus a big platter of fruits fondue!
Well, it's a sweet quiet and peaceful weekend afterall ...


Sunday, 16 February 2014

Double M : Mango Muffins


It has been quite sometime (more than 4 months, I think) since my last baked muffins for our weekend snacks. My teens love muffins and cupcakes. With some mangoes 'sitting' amongst the oranges, apples and persimmons in the fruits basket,  I decided to bake some muffins with mango which was quick and easy as compared to baking cupcakes.  We spent an afternoon to enjoy the yummy moist muffins with hot coffee or tea.  There were some leftover ... Saving them for our breakfast.
I adapt the recipe from Joy of Baking with slight modifications on the reduced sugar quantity. The original recipe used banana and strawberry ... I tried with mango instead, since I had attempted using the banana and strawberry.

Mango Muffins 
Recipe (12 muffins) :
110 grams unsalted butter, melted
2 large eggs, lightly beaten
1 teaspoon pure vanilla extract
1 large mango (about 250 grams) peel skin, cut big chunks and lightly mashed 
290 grams all-purpose flour
100 grams caster sugar
1 teaspoon baking powder
1/4 teaspoon baking soda
1/2 teaspoon salt

1) Preheat oven to 177 degrees C. Place the oven rack in the center of the oven. Line a 12 cup muffin pan with paper liners.
2) In a small saucepan melt the butter. Let it cool to room temperature.
3) In a medium sized bowl whisk together the eggs, vanilla extract and mashed mango Add the melted butter and stir to combine.
4) In another large bowl combine the flour, sugar, baking powder, baking soda and salt.
5) Add the wet ingredients to the dry ingredients and stir only until the ingredients are just combined. Do not over mix the batter or tough muffins will result.
6) Divide the batter evenly among the 12 muffin cups, using an ice cream scoop. 
7) Bake for about 20 to 25 minutes or a tester (tooth pick) inserted in the center of a muffin comes out clean.  Transfer to a wire rack to cool. Can be stored for a few days at room temperature.


Saturday, 15 February 2014

Double 'V' occasion ... Dinner for 4

14 Feb is known around the world as the "day of love" - Valentine's Day. This year 14.02.2014 is also the Chinese Lantern Festival (元宵节), the Chinese Valentine as well as marking the last day of the Chinese New Year celebration. The two celebrations fall on the same day only once every 19 years. 
For me, it is not an occasion to celebrate Valentine as my hubby works overseas. But since it is the last day of the CNY, I decided to cook some simple 'east meets west' dinner for the family.
I reached home almost 6pm after knocked off immediately from work.  I have to start the preparation and cooking immediately ... Plus a request from my teens to make some sweet dumplings dessert (汤圆), a traditional Chinese dessert symbolizes sweet reunion as a family.  Well, good thing is that these dumplings could be bought from the supermarket frozen section. All I need is just to make the soup base with some rock sugar, ginger and pan dan leaves. It really saved me the time.
To have some festival mood for the menu, I decided to bake some Quiche with BBQ sliced pork (bak kwa) toppings, fried egg noodles with BBQ and sweet dumplings dessert. Well, as usual, we enjoyed a wonderful meal ... on the double 'V' day.


quiche & sweet dumplings dessert
A friend of mine shared a recipe for Quiche, I made some slight modifications :-

Quiche (makes about 12 muffin foil case)
Crust
Flour 190g (multi-purpose or plain flour)
Cold butter 90g
Water 35ml

Methods:
1) Sift flour & a pitch of salt in large bowl.
2) Cut cold butter in small cubes or pieces, pour into flour.
3) Rub the butter with flour (rub in method using fingers not palm) till crumbly consistency.
4) Add in water to desired consistency.
5) Mix into dough - a light smooth paste and rest it least 30 mins before cutting/dividing the dough into smaller portion. Prepare the *choice ingredients and set aside.
6) Divide and weigh dough into smaller balls. {27g each for muffin foil case}
7) Fill dough into foil case. Rest 5 - 10 mins before tidying the edge.  While waiting, prepare the **quiche filling**.

Fill the case base with cheese and choice ingredients (slightly 3/4 full).

Pour Quiche filling into case 3/4 full. Top with some cheese and bake about 35 mins at 180 degree pre heat oven.

**Quiche filling**
1 egg
Fresh milk 75ml
Whip cream 60ml
Beat egg, liquid and sift. Set aside.

Mozzarella cheese & choice* ingredients like ham, bacon, button mushrooms, onions <*all cut in small pieces and set aside>


Friday, 31 January 2014

CNY 1st day breakfast for the family

I always have those fond memories of Chinese New Year celebrations during my childhood days (perhaps aged 6 to 10).  Not so much about playing with fire crackers though (kampung days) before the ban imposed. On the 1st day, my mother would wake up early around 5:30am in the morning to prepare breakfast for the family.  I could still remember some of those specially made dishes like steamed yam cake (芋头糕), steamed glutinous rice with chinese sausages and peanuts (糯米饭), fried noodle or bee hood etc.  When we woke up, the nice fragrance food were still hot layed on the dining table. So, obviously the children had to quickly wash up, changed to our new year wear and honour our CNY well wishes and blessings to our parents before the start of our hearty breakfast.   As an adult, I do helpout the preparation of CNY breakfast occasionally until I got married.  Due to time constraint, working life and the need to look after the young kids, some of these traditional homemade dishes "no longer exists" when we would settled with quick and easy breakfast like butter cookies, cereal or sandwiches etc. Afterwhich, the family would be out the whole day for CNY visitation to relatives' places.  This year, I would like to bring back some of those fond memories of traditional CNY dish ... I made the steamed glutinous rice using my mother's recipe but modified the ingredients slightly.  Instead of adding the Chinese sausages (腊肠) and peanuts, I used BBQ pork (肉干)and roasted cashew nuts instead.  Feeling so blessed that my family enjoyed this special cooked breakfast this morning.

Steamed glutinous rice with BBQ pork & cashew nuts 
Ingredients: 4 - 5 servings
Glutinous rice (sweet rice) 250g
Soaked with water overnight
Dried mushrooms 5 - 7 pcs soaked with warm water till soften. Diced.
BBQ sliced pork 2 pcs - cut small bit size.
Roasted Cashew nuts - about 20g
Garlic 2 - 3 pcs crushed
Cooking oil 2 tablespoons

Seasoning mixture
Water 80ml
2 tablespoons dark soya sauce
1 tablespoon light soya sauce
1 tablespoon sesame oil
A pinch of salt, dash of white pepper.

Some spring onions for garnish

Method:
1) Glutinous rice - Drain the water and set aside.
2) Prepare the steamer.
3) Heat wok or pan (medium flame) add cooking oil.  Add in the crushed garlics till fragrant.  Add in the mushrooms and stir-fry about 1 min.
4) Pour in the glutinous rice stir-fry about 1 min. Pour in the seasoning mixture. Continue to stir fry another 5 mins. Add in the BBQ pork & cashew nuts and combine thoroughly.
5) Transfer the rice to a metal or heat proof plate.
6) Place in steamer and steam for about 25 mins.

Serve hot. Garnish with some spring onions when serving.
迎新春、过新年!May the new year brings you good health & fortunes always.